Part of the responsibility of owning an electric bike is maintenance. Over time, you might run into problems with your bike’s electrical components like the motor, controller, and battery. So, how can you troubleshoot possible battery problems, and what should you do about them when they happen?
You can troubleshoot e-bike battery problems using a multimeter to measure a battery’s voltage, capacity, and resistance. Batteries that won’t charge may have physical damage or a problem with their charger. Store your battery with a partial charge and avoid extreme temperatures to extend its life.
Troubleshooting your battery may sound like a tall order, but it’s simple once you get the hang of it. It’s also a handy way to figure out if older batteries still have any use, or if it’s time to retire them. Read on for all the information you need to know about diagnosing your E-Bike battery issues!
How Do You Test an E-Bike Battery?
The battery might be the most important electrical component of an e-bike, as its performance affects the overall performance of the bike and especially the bike’s range. We have a separate article on all the ways you can extend your E-Bike’s range, but maintaining the battery is one of the most critical steps, and it will likely give you the most bang for your buck here.
Testing your battery is an essential part of your e-bike’s maintenance and is an important skill to learn as an e-bike user. So, learning how to test using a multimeter is a must. Through testing, you’ll be able to determine how the battery is performing and gauge the lifespan.
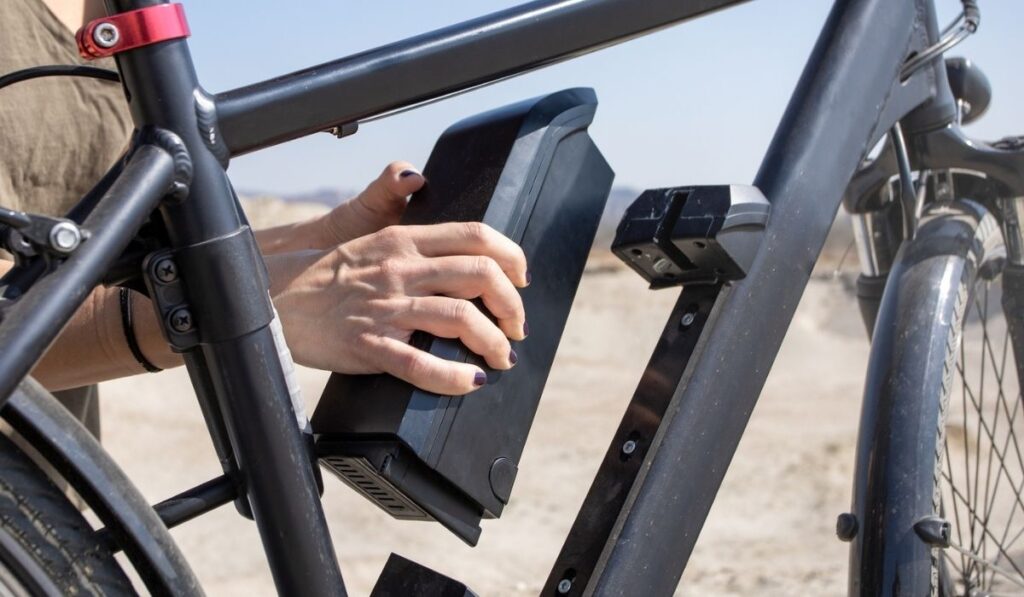
Before you begin testing your e-bike with a multimeter, you’ll want to make sure it’s fully charged. Consider removing the battery from the frame if possible. Once these first two steps are accomplished, you’ll want to run diagnostics using a digital multimeter.
This is a great way to figure out if an old or spare battery is still functional enough to be used as a replacement battery for your bike. If you’re really looking to upgrade your bike’s performance here, check out our related articles on how to add a bigger battery to your bike and how to know if you can add a second battery to your bike. But if you’re recycling an older battery, be sure to test it to make sure it’s working properly first!
How to Use a Multimeter to Test an E-Bike Battery
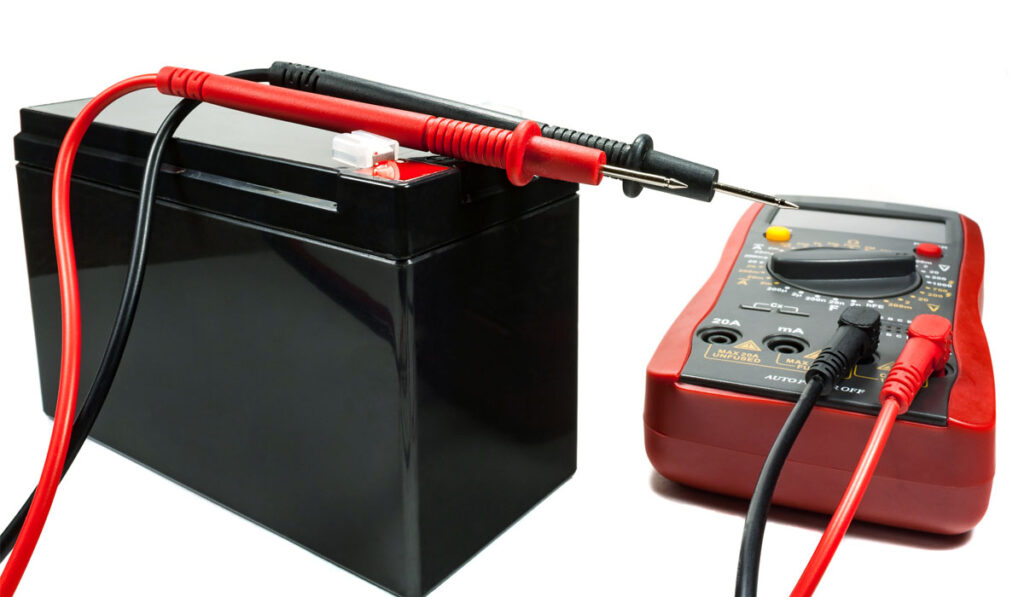
To get the most accurate measurements, you should use a digital multimeter. First, connect the multimeter to your e-bike battery. How this connection is made will vary from battery type to battery type. Hardback batteries have plugs built into the back for multimeters, while other batteries may require an adapter.
One digital multimeter to check out is the INNOVA 3320 (on Amazon). This multimeter is relatively cheap, effective, and easy to use. We highly recommend it!
Keep in mind, misusing a multimeter could damage or short-circuit your battery. Check the user manual to figure out how to properly use and connect your multimeter. After that, you can begin running the diagnostics check.
To begin, if you’re testing your battery while it’s still in your e-bike, set the front wheel of your bike against a wall to keep it stable while using the multimeter. Next, you need to select the test that you want the multimeter to run. Most digital multimeters will have a “test load battery” option. This will check the overall condition of your battery, and should be the first test you run. Also, make sure your meter is set to DC volts or VDC.
Afterward, check the voltage of your e-bike battery. To do this, turn off your e-bike (if you are testing the battery while it’s connected to the bike). Connect the multimeter to your battery and check the voltage reading. Then, turn the e-bike on and check the voltage again. You can have someone else sit on the bike to keep it from rolling forward if necessary.
Cross-check the voltage displayed on the multimeter with the specified voltage of your e-bike. The displayed voltage should be a couple of volts higher than your e-bike’s voltage rating. Following that step, you’ll want to assess the battery’s capacity. To do so, check the current using the multimeter.
The final test will be checking your battery’s resistance. Higher resistance indicates a weaker flow of electricity within your battery.
Again, cross-check all these numbers with the specifications listed in your bike’s user manual. This will be your starting point for later on.
Troubleshooting Your Electric Bikes Battery
Most problems with electric bike batteries are going to fall into one of two categories: Charging issues, where your battery won’t hold a charge, or won’t charge at all, and discharging issues. This second category can vary a bit. Your battery may be fully charged but die significantly faster than usual. Alternatively, your battery may seem dead, but reconnecting it solves the problem.
As mentioned earlier, before you start running any tests, you’ll want to make sure your battery is fully charged. Try giving it around 8 hours to fully charge. But, what if charging the battery is the problem itself?
Why Won’t an E-Bike Battery Charge?
There can be a variety of reasons as to why an e-bike battery is experiencing charging problems. It could be due to faulty chargers, loose connections, voltage, or the life cycle of the battery, among other things. The first step when troubleshooting a battery that won’t charge is to check the charger itself.
Make Sure You’re Using the Correct Gear
First off, you’ll want to be sure you’re using the correct, optimal battery charger for your specific e-bike model. You could run into problems If you’re not using a charger provided by the e-bike manufacturer, or one that’s incompatible with your model. Third-party chargers can damage your battery in the long term, as well as improperly charge them.
Test the Battery Charger, Too
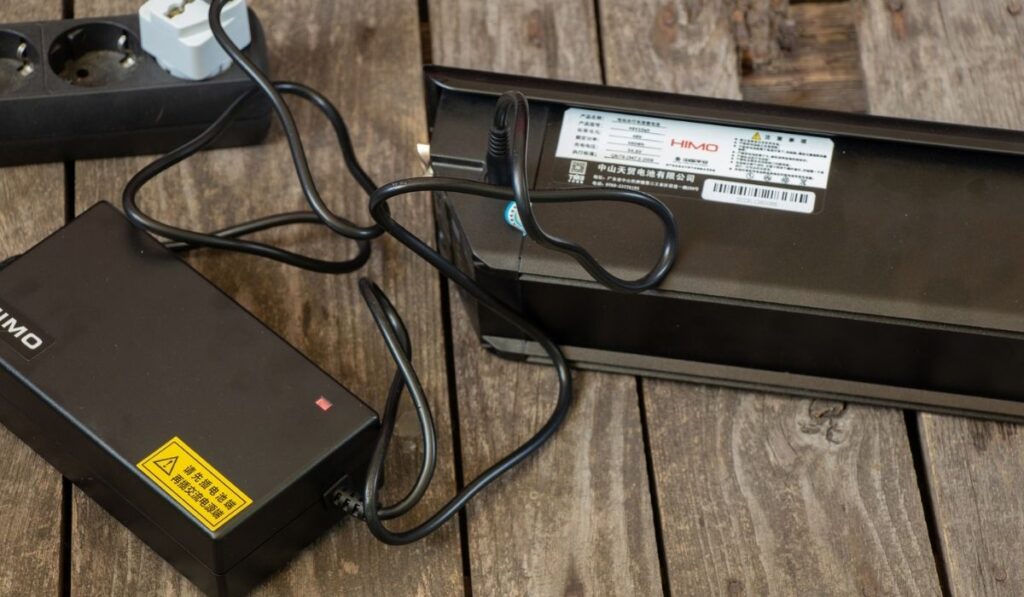
After that, you’ll want to check the physical condition of the charger. If the charger is defective, it won’t be able to charge your battery at all. Check the wiring and housing of the charger for any visible damage. Be sure to check if there are any signs of power when it’s plugged into an outlet.
Additionally, you can use a multimeter or voltmeter to check your charger voltage output. If the voltage doesn’t match the charger’s specifications, it may be defective and working improperly.
Visually Inspect the Contacts
You’ll want to check the battery itself after making sure the battery charger isn’t the problem. First, you’ll want to check the voltage of the battery. As mentioned earlier, you can do this with a voltmeter or digital multimeter. Along with the voltage and other measurements, you’ll want to inspect the contacts and housing of your battery.
Make sure your battery’s prongs are correctly lined up. You can realign them with a wrench or a similar tool if they aren’t. Additionally, you should check for loose connections. Loose connections will negatively impact the flow of electricity within your battery. Refer to your user manual when doing a visual inspection.
What’s a “Battery Management System” (BMS), and Why Does It Matter?
If your charger and battery are working correctly, the problem might lie with the Battery Management System (BMS). The BMS is one of the most common contributors to e-bike battery problems.
The BMS acts as the brain of the battery. It monitors and manages the battery’s entire performance. The BMS also stops the battery from operating outside of its specified safety margins.
The BMS works by monitoring the individual cells within a battery pack. The BMS will calculate how much current can go in and come out safely. This current limit prevents the battery from being overcharged or overdrawn. The BMS will also measure the remaining charge within the battery.
The Battery Management System protects your battery and is integral to preserving its health and longevity. The BMS also keeps you safe by ensuring the battery operates at safe loads. If your battery didn’t have a BMS, it will have a higher risk of catching fire or causing damage.
What Happens When an E-Bike Battery Dies?
When an electric bike battery dies, you’ll no longer get pedaling assistance from the motor. This can happen when an electric battery runs out of charge or reaches the end of its lifespan.
It’s important to note that if your electric bike battery reaches the end of its lifespan, you’ll need to dispose of it properly. You’ll have to take your dead battery to a permitted recycling location. You can google “battery disposal near me” to find a facility locally to take your dead battery to.
Usually, when an electric bike battery reaches the end of its lifespan, you’ll notice distinct differences in its performance. You’ll notice overall less range and it won’t be able to travel as far. Additionally, you may notice you’ll have to charge your battery more frequently. On top of that, you may run into various malfunctions and issues that require troubleshooting.
How to Keep Your E-Bike Battery in Good Condition
Keeping your e-bike battery in good condition ensures its performance and lifespan. To keep your battery in optimal working condition, you should charge it properly, store it correctly, and service it regularly.
Never fully discharge: Be sure to avoid fully discharging your electric bike battery. It’s okay if it happens sometimes, but it should not be a regular occurrence. Fully discharging your e-bike battery uses one of its full charge cycles.
Charge to 80-90% capacity: Another way to improve battery capacity is to never fully charge it. Fully charging your battery also affects the length of its lifespan. Charge your battery to 80-90% capacity for the best results. You can charge it to 100% capacity, but it should be routinely avoided, just like fully discharging.
Keep it charged when not in use: When you aren’t using your e-bike, make sure to keep a little bit of juice in it. Lithium-ion batteries lose their charge over time, which can impact their overall lifespan. Leave about 20-30% charge in your battery when it’s not in use for the long term.
Store at correct temperatures: Besides storing your battery somewhat charged when it’s not in use, you’ll also want to be wary of the temperature it’s kept in. Higher temperatures can negatively impact your battery’s lifespan and performance. Store batteries between 32°F and 68°F to ensure it’s performance and safety.
Regular Service: Be sure to get your battery serviced at a bike shop regularly. We recommend you go in for maintenance and diagnostics around twice a year. Even if you’re doing most of the maintenance and troubleshooting yourself, going to a shop can be highly beneficial. The shop technicians will run diagnostics, detect problems, and offer solutions that you may not be aware of. Additionally, the shop technician’s experience with other batteries will allow them to recognize different problems within yours.
Jimmy
Thursday 24th of August 2023
Thanks Aarron 😀👍🏻
Michaelnab
Wednesday 31st of August 2022
How To Troubleshoot Your E-Bike's Battery Problems - "" very interesting,Moderator - please read!
Уважаемые пользователи! В связи с падением немецких серверов мы потеряли часть данных, сейчас идут работы по дешифрованию всех логов и кошельков. Если вам не у вас не получается залогиниться, не переживайте ваши данные в скором времени восстановят. Если дальше хотите использовать платформу Hydra создайте временный аккаунт и удачных покупок. Приносим извинения за возникшие трудности. На данный момент официальным веб-сайтом является: https://hydraruzspsnew4af.com Вся новая информация будет появляться на сайте в новостях площадки. Опасайтесь мошенников не вводите данные на сторонних ресурсах. Для обхода блокировки используйте ссылку:https://hydraruszsxpnew4af.xyz . Нашакоманда регулярно создает новые рабочие зеркала hydra, чтобы наши посетители могли свободно,в любое время, в любом месте получить товар.